
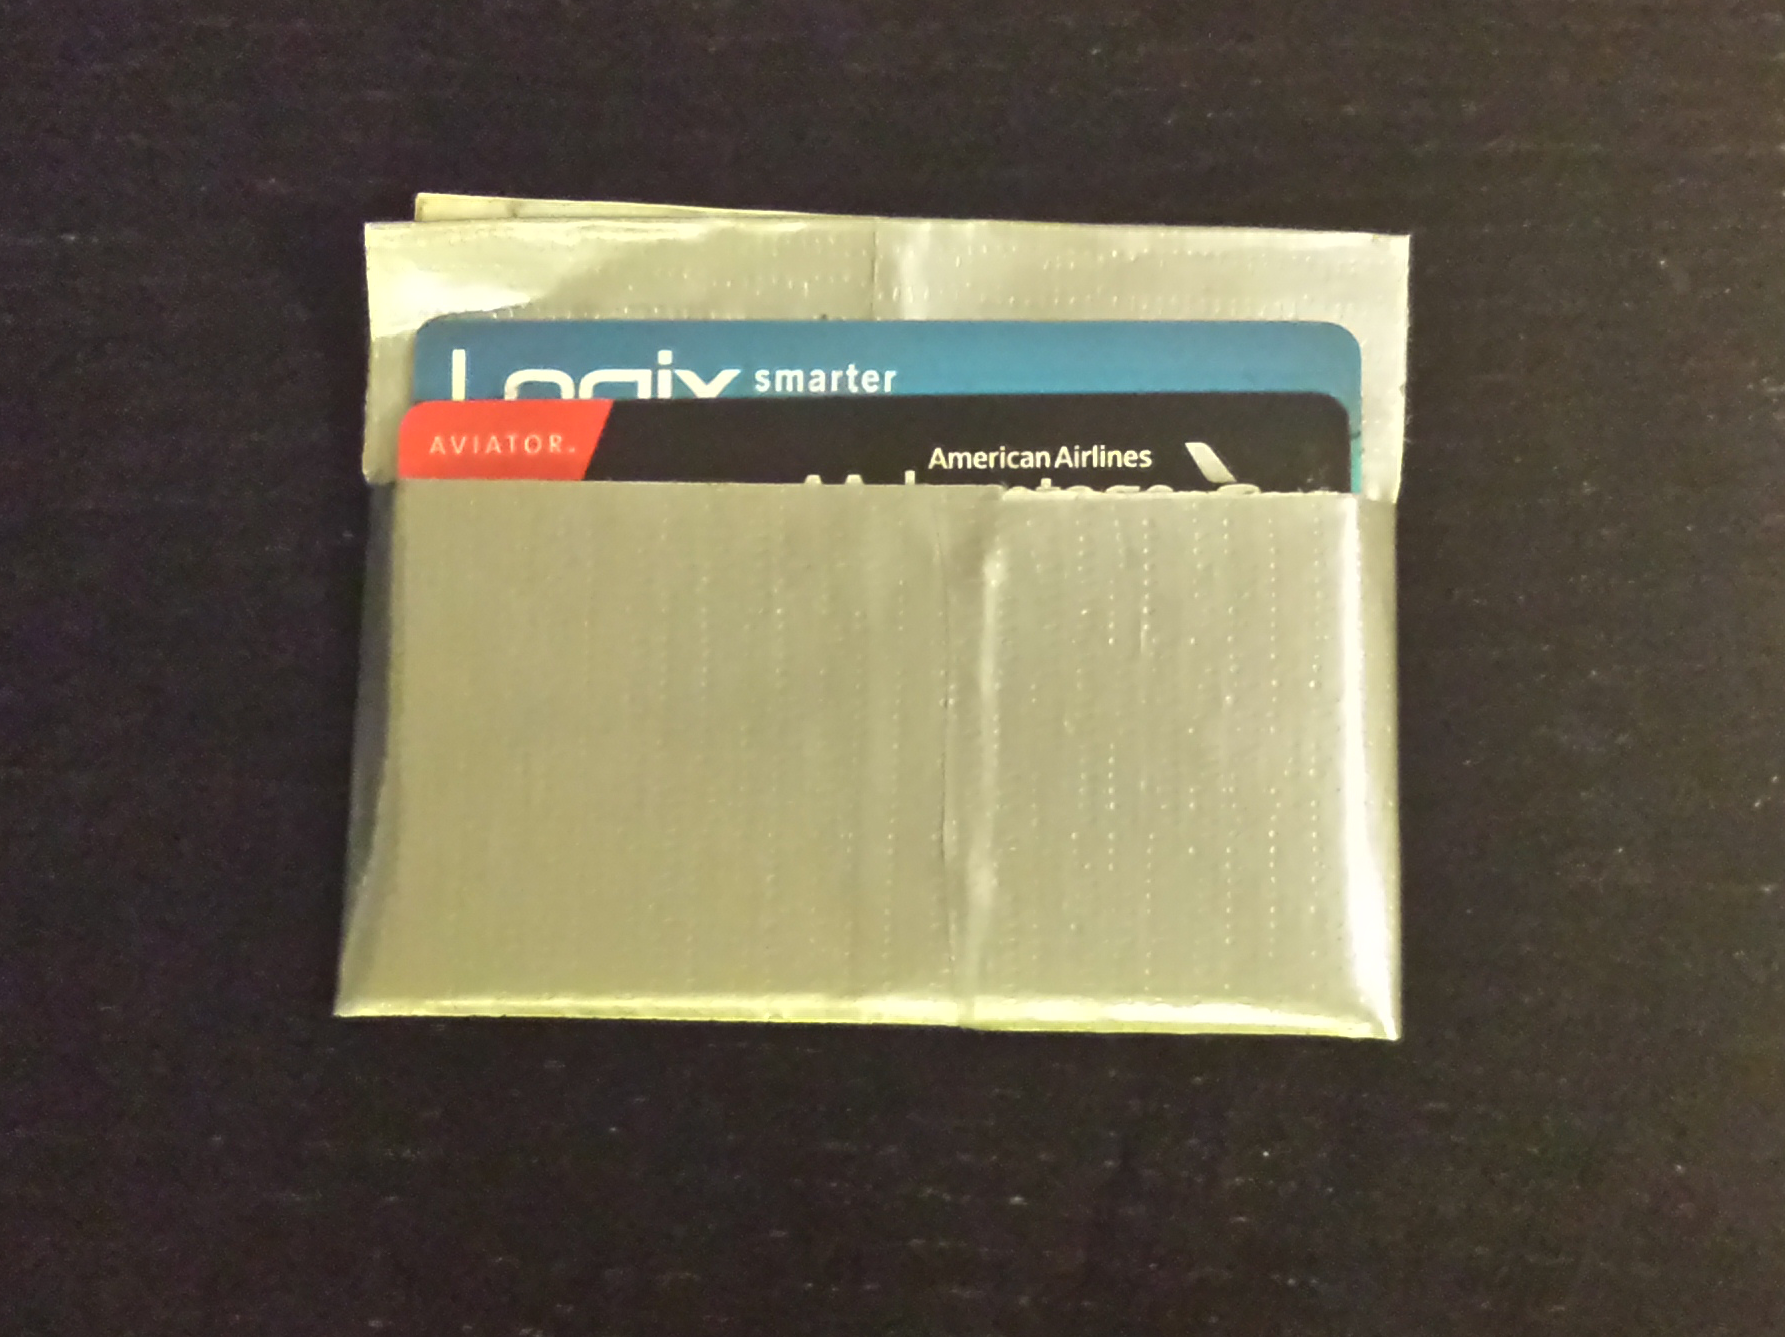
Duct Tape wallets are cool, thin and light, and personalizable. The instructions below describe my design, which I think is elegant, and you can modify to your heart’s content.
Step 1.
Measure out the length of the two longest strips of duct tape:
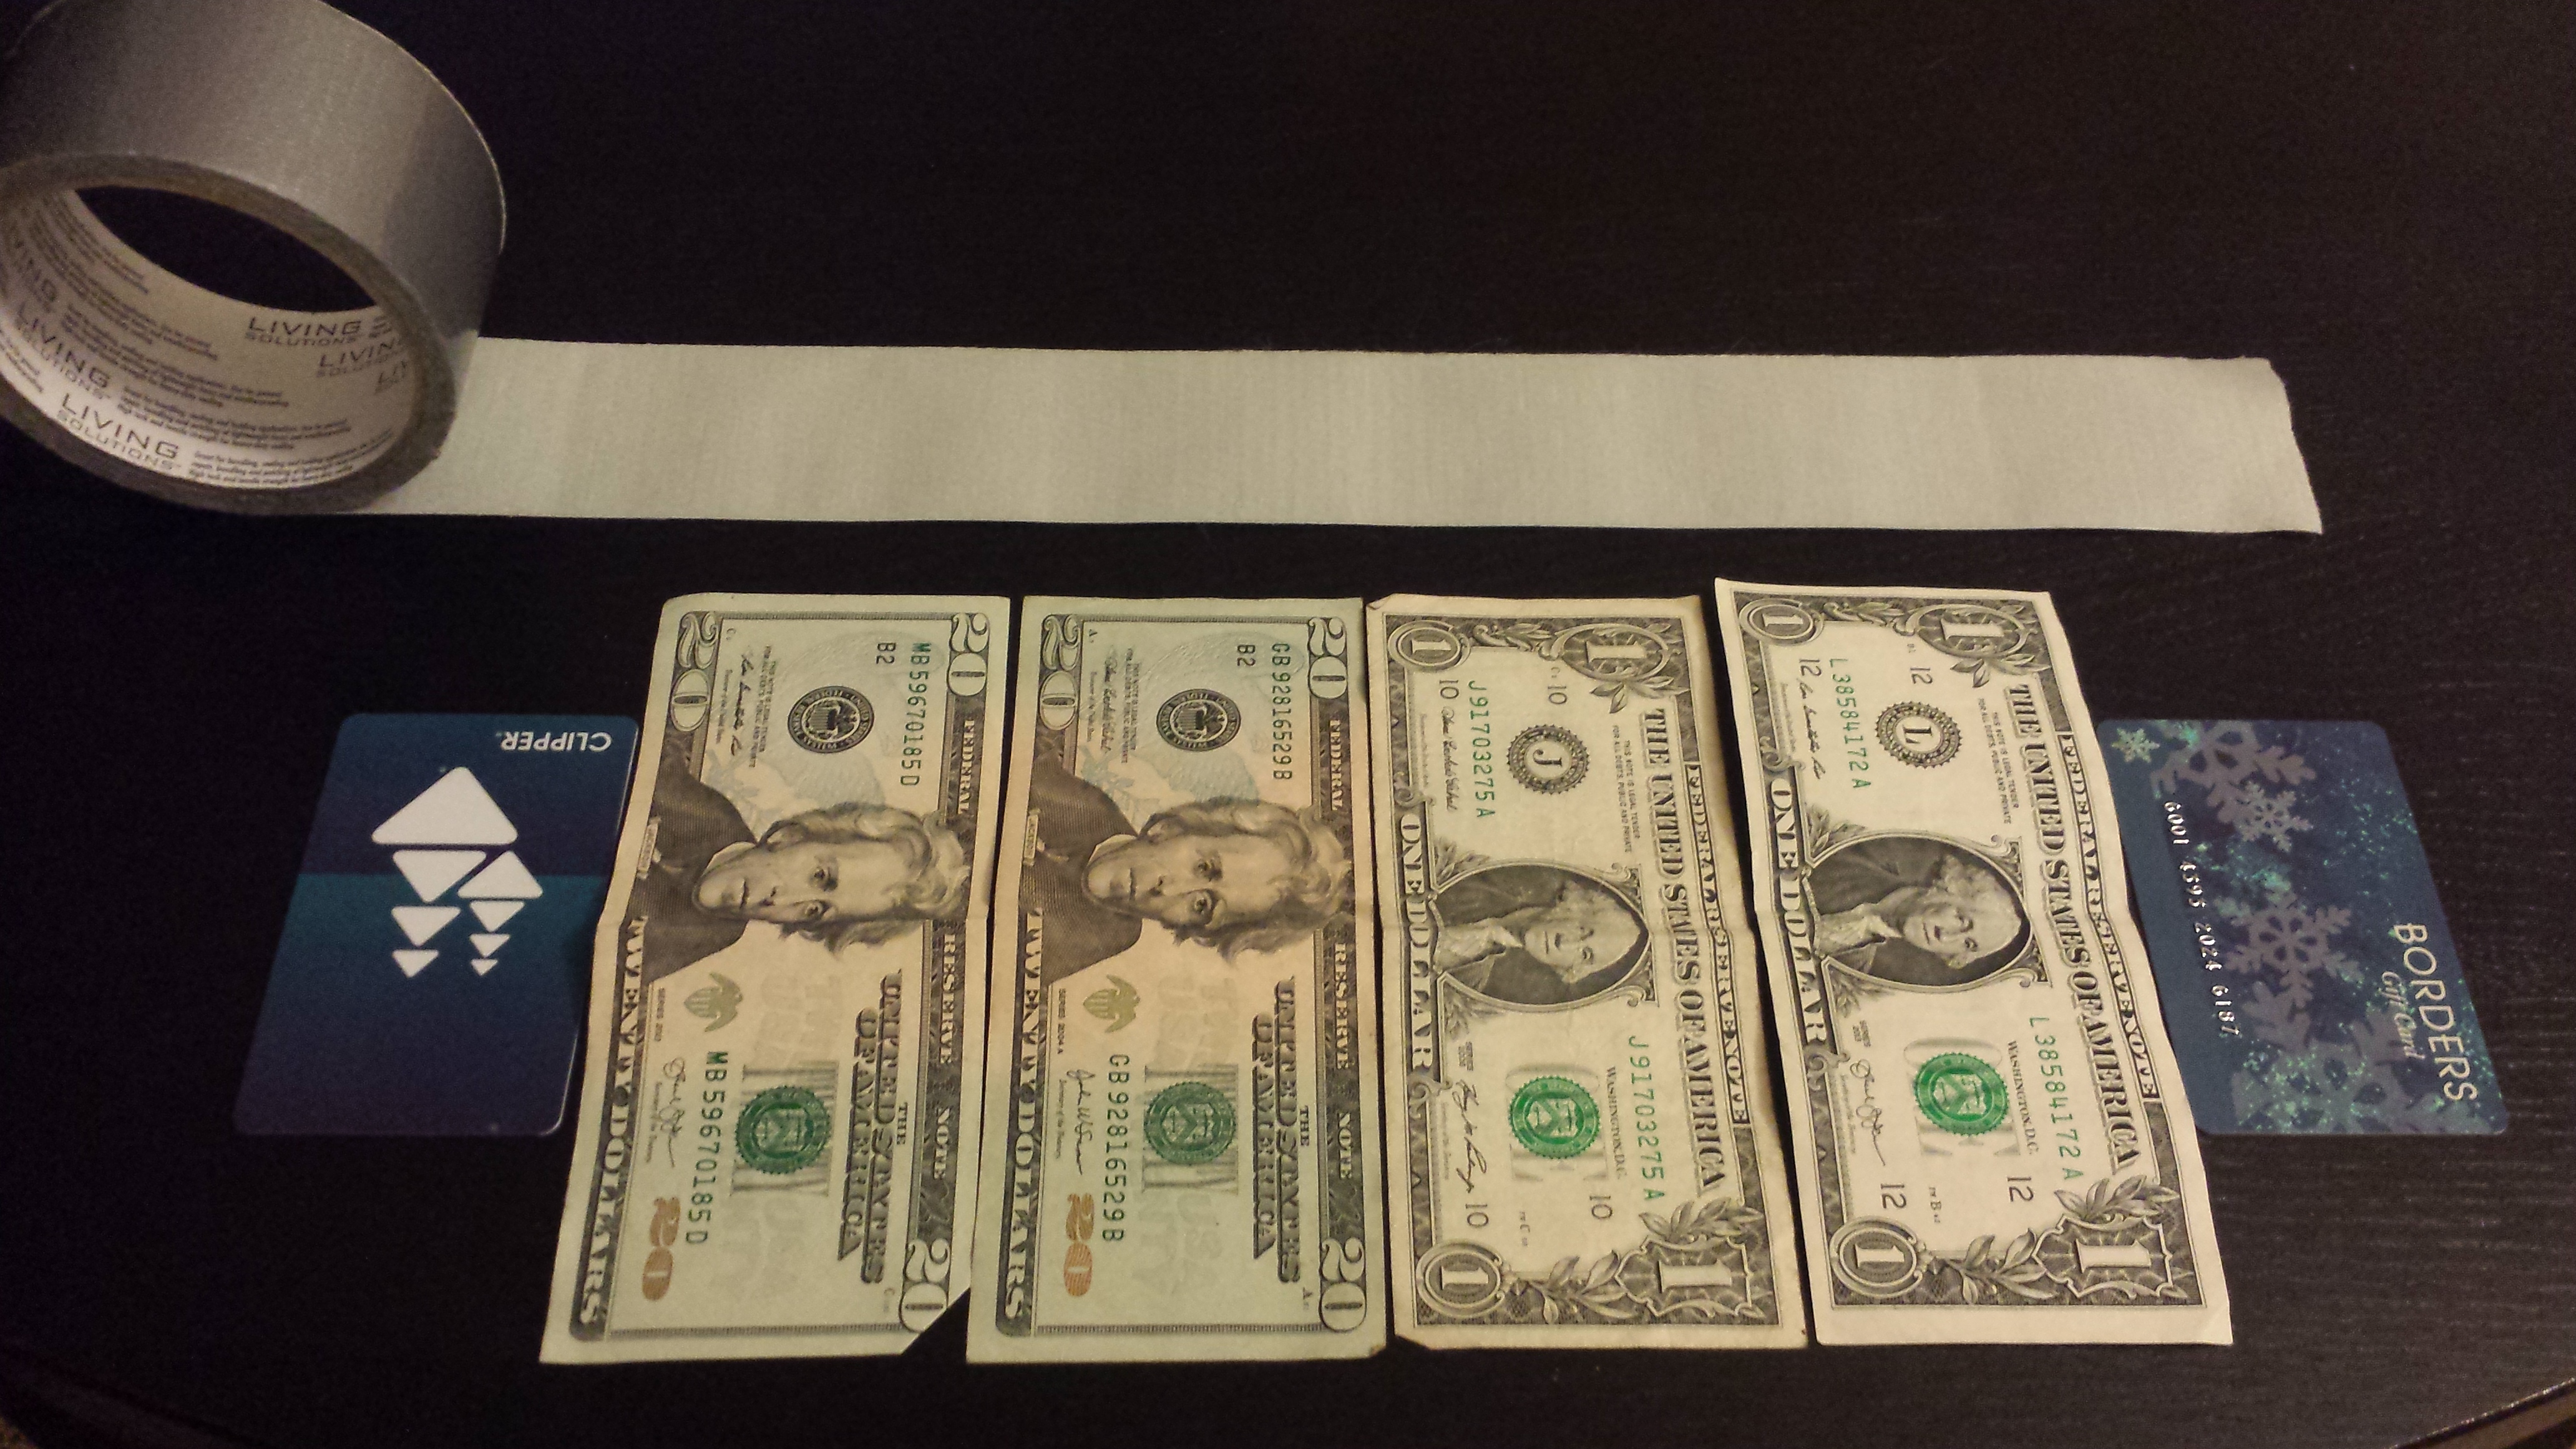
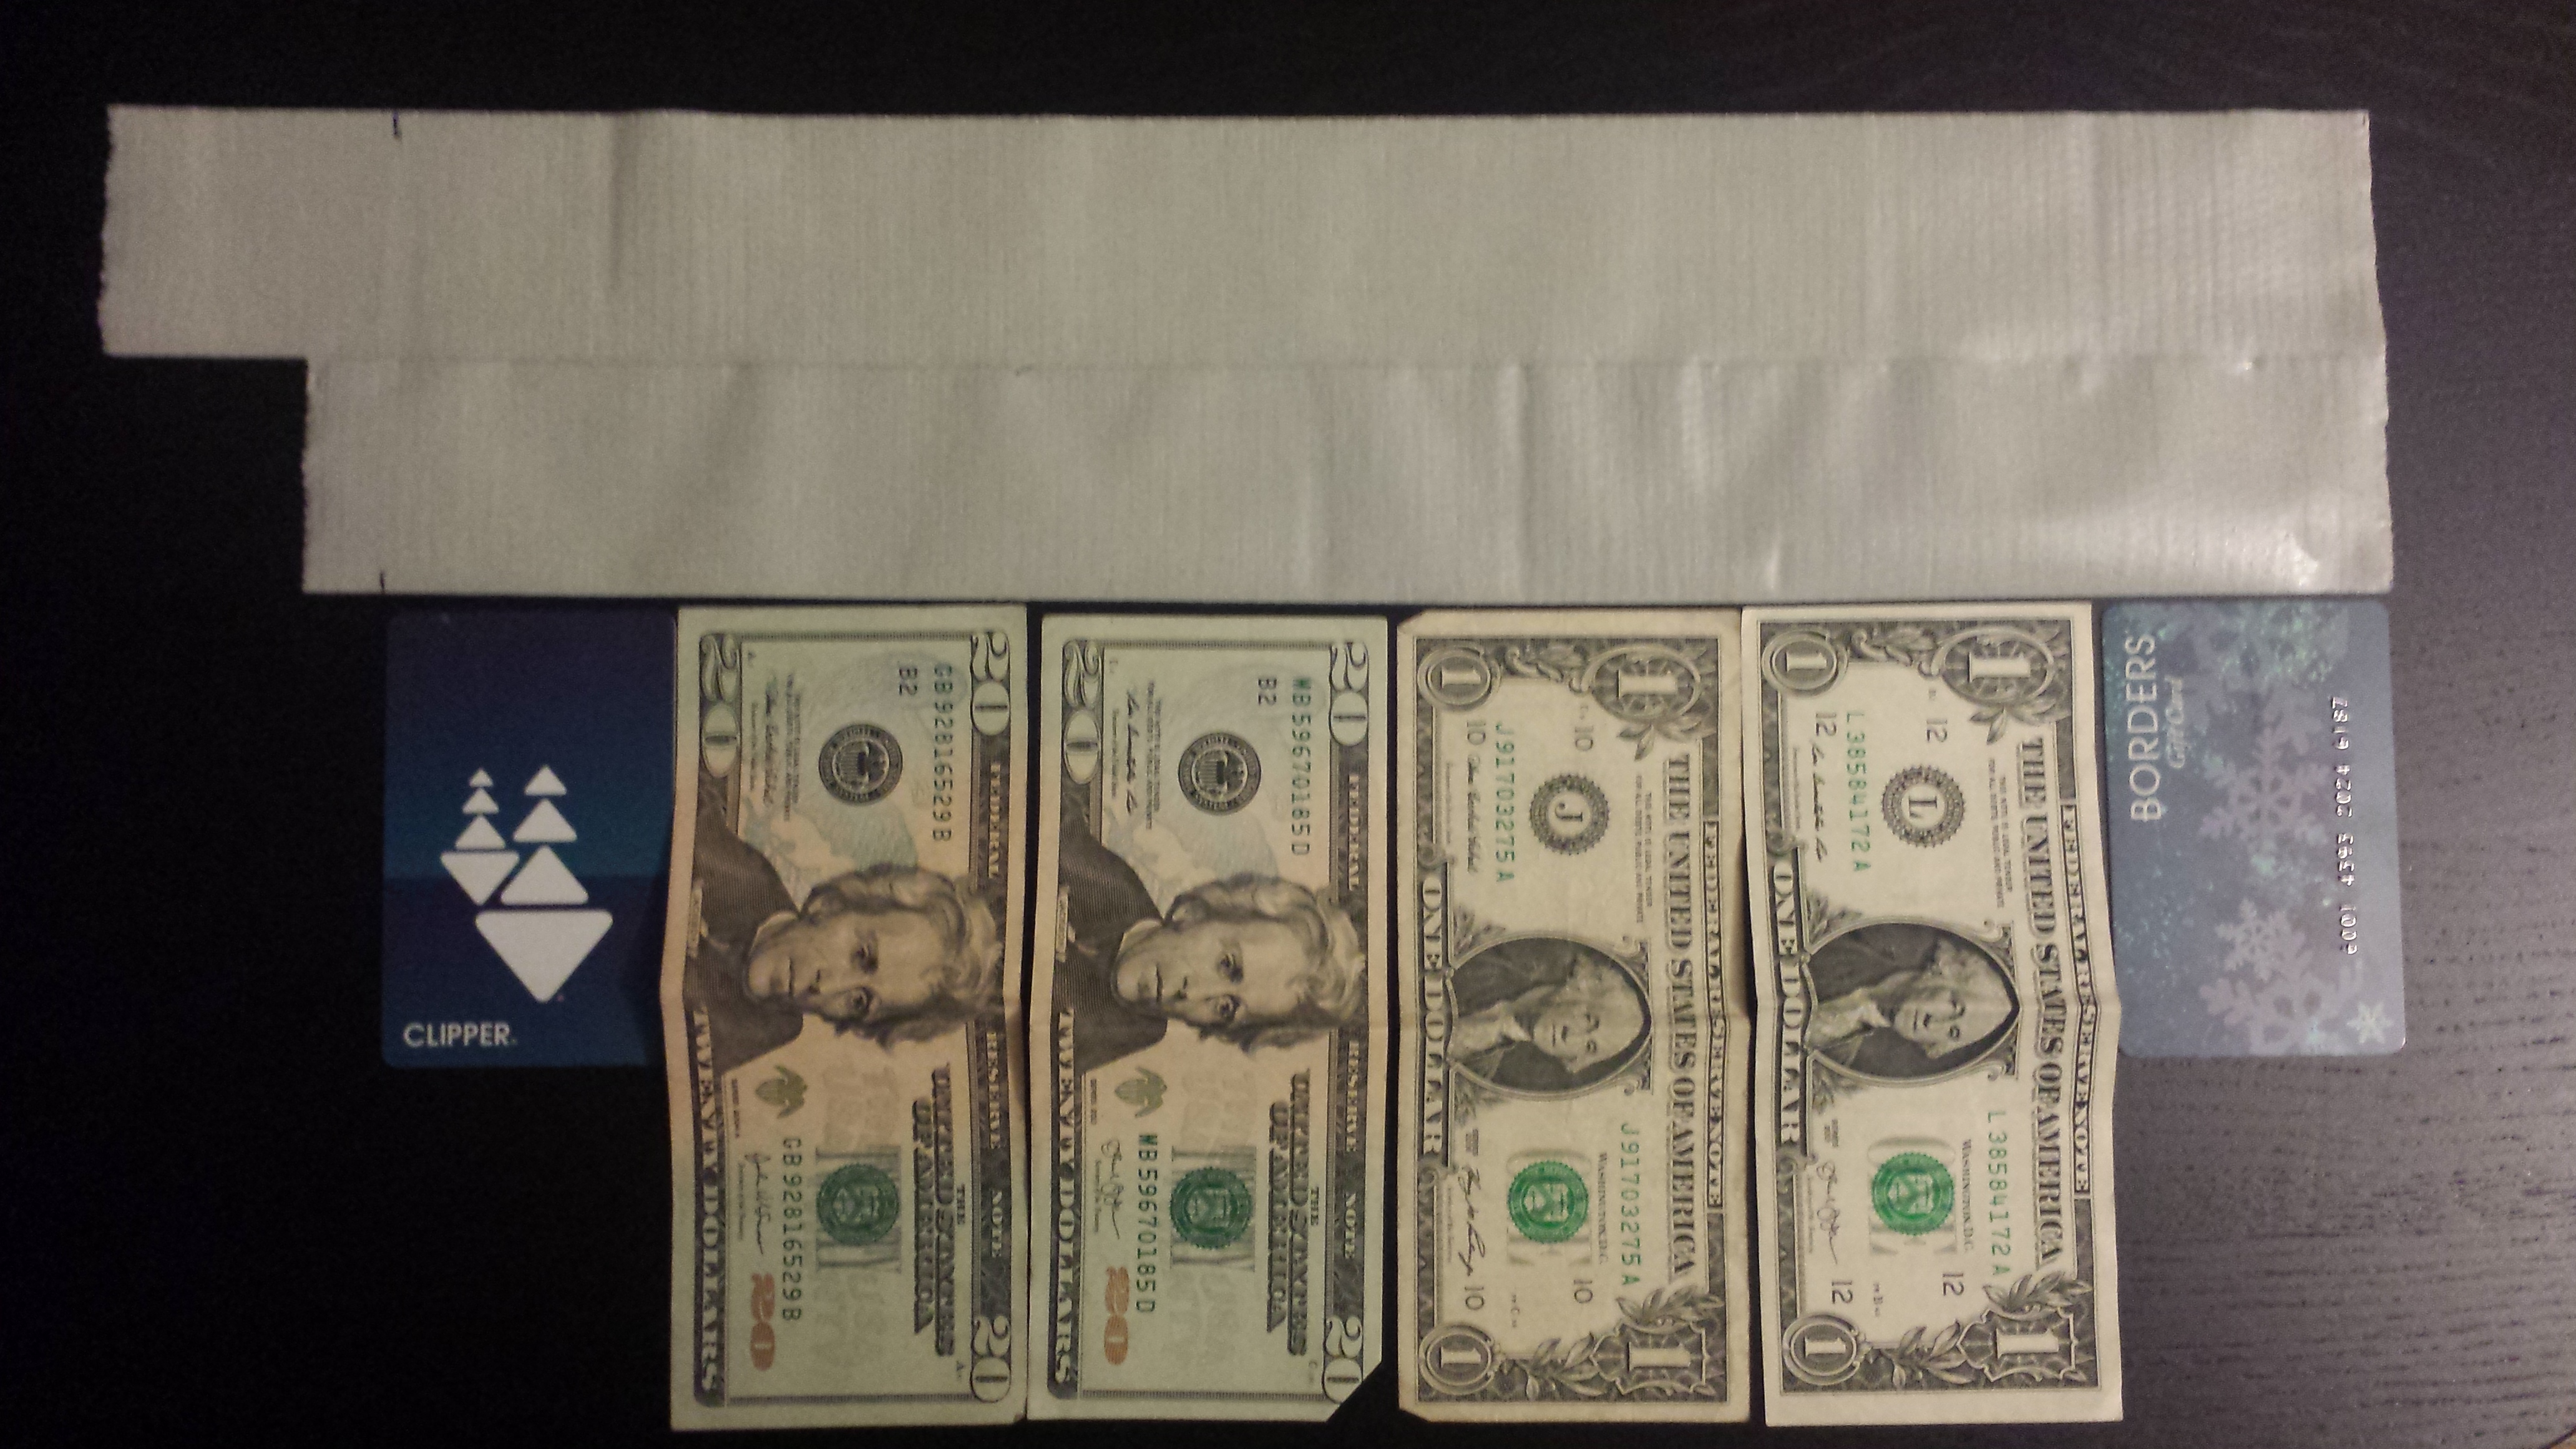
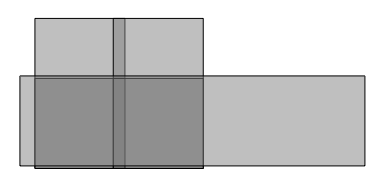
Line four bills up, just touching along their long edges. Rip two
small strips of duct tape to measure an additional width to the left
and right of the four bills, or use credit cards, as shown below.

Step 2.
Measure out one strips of duct tape this length and lay it sticky-side-up.
Then measure a second strip and lay it stick-side-up with just
enough overlap to form a secure connection.
Step 3.
Fold the strips into the basic wallet frame, by first folding them
in half, with the sticky-side out. Then continue folding in an
accordian fashion, only allowing the faces with the same letter
shown below to stick together. Make sure that these adhering faces
are smooth an even.


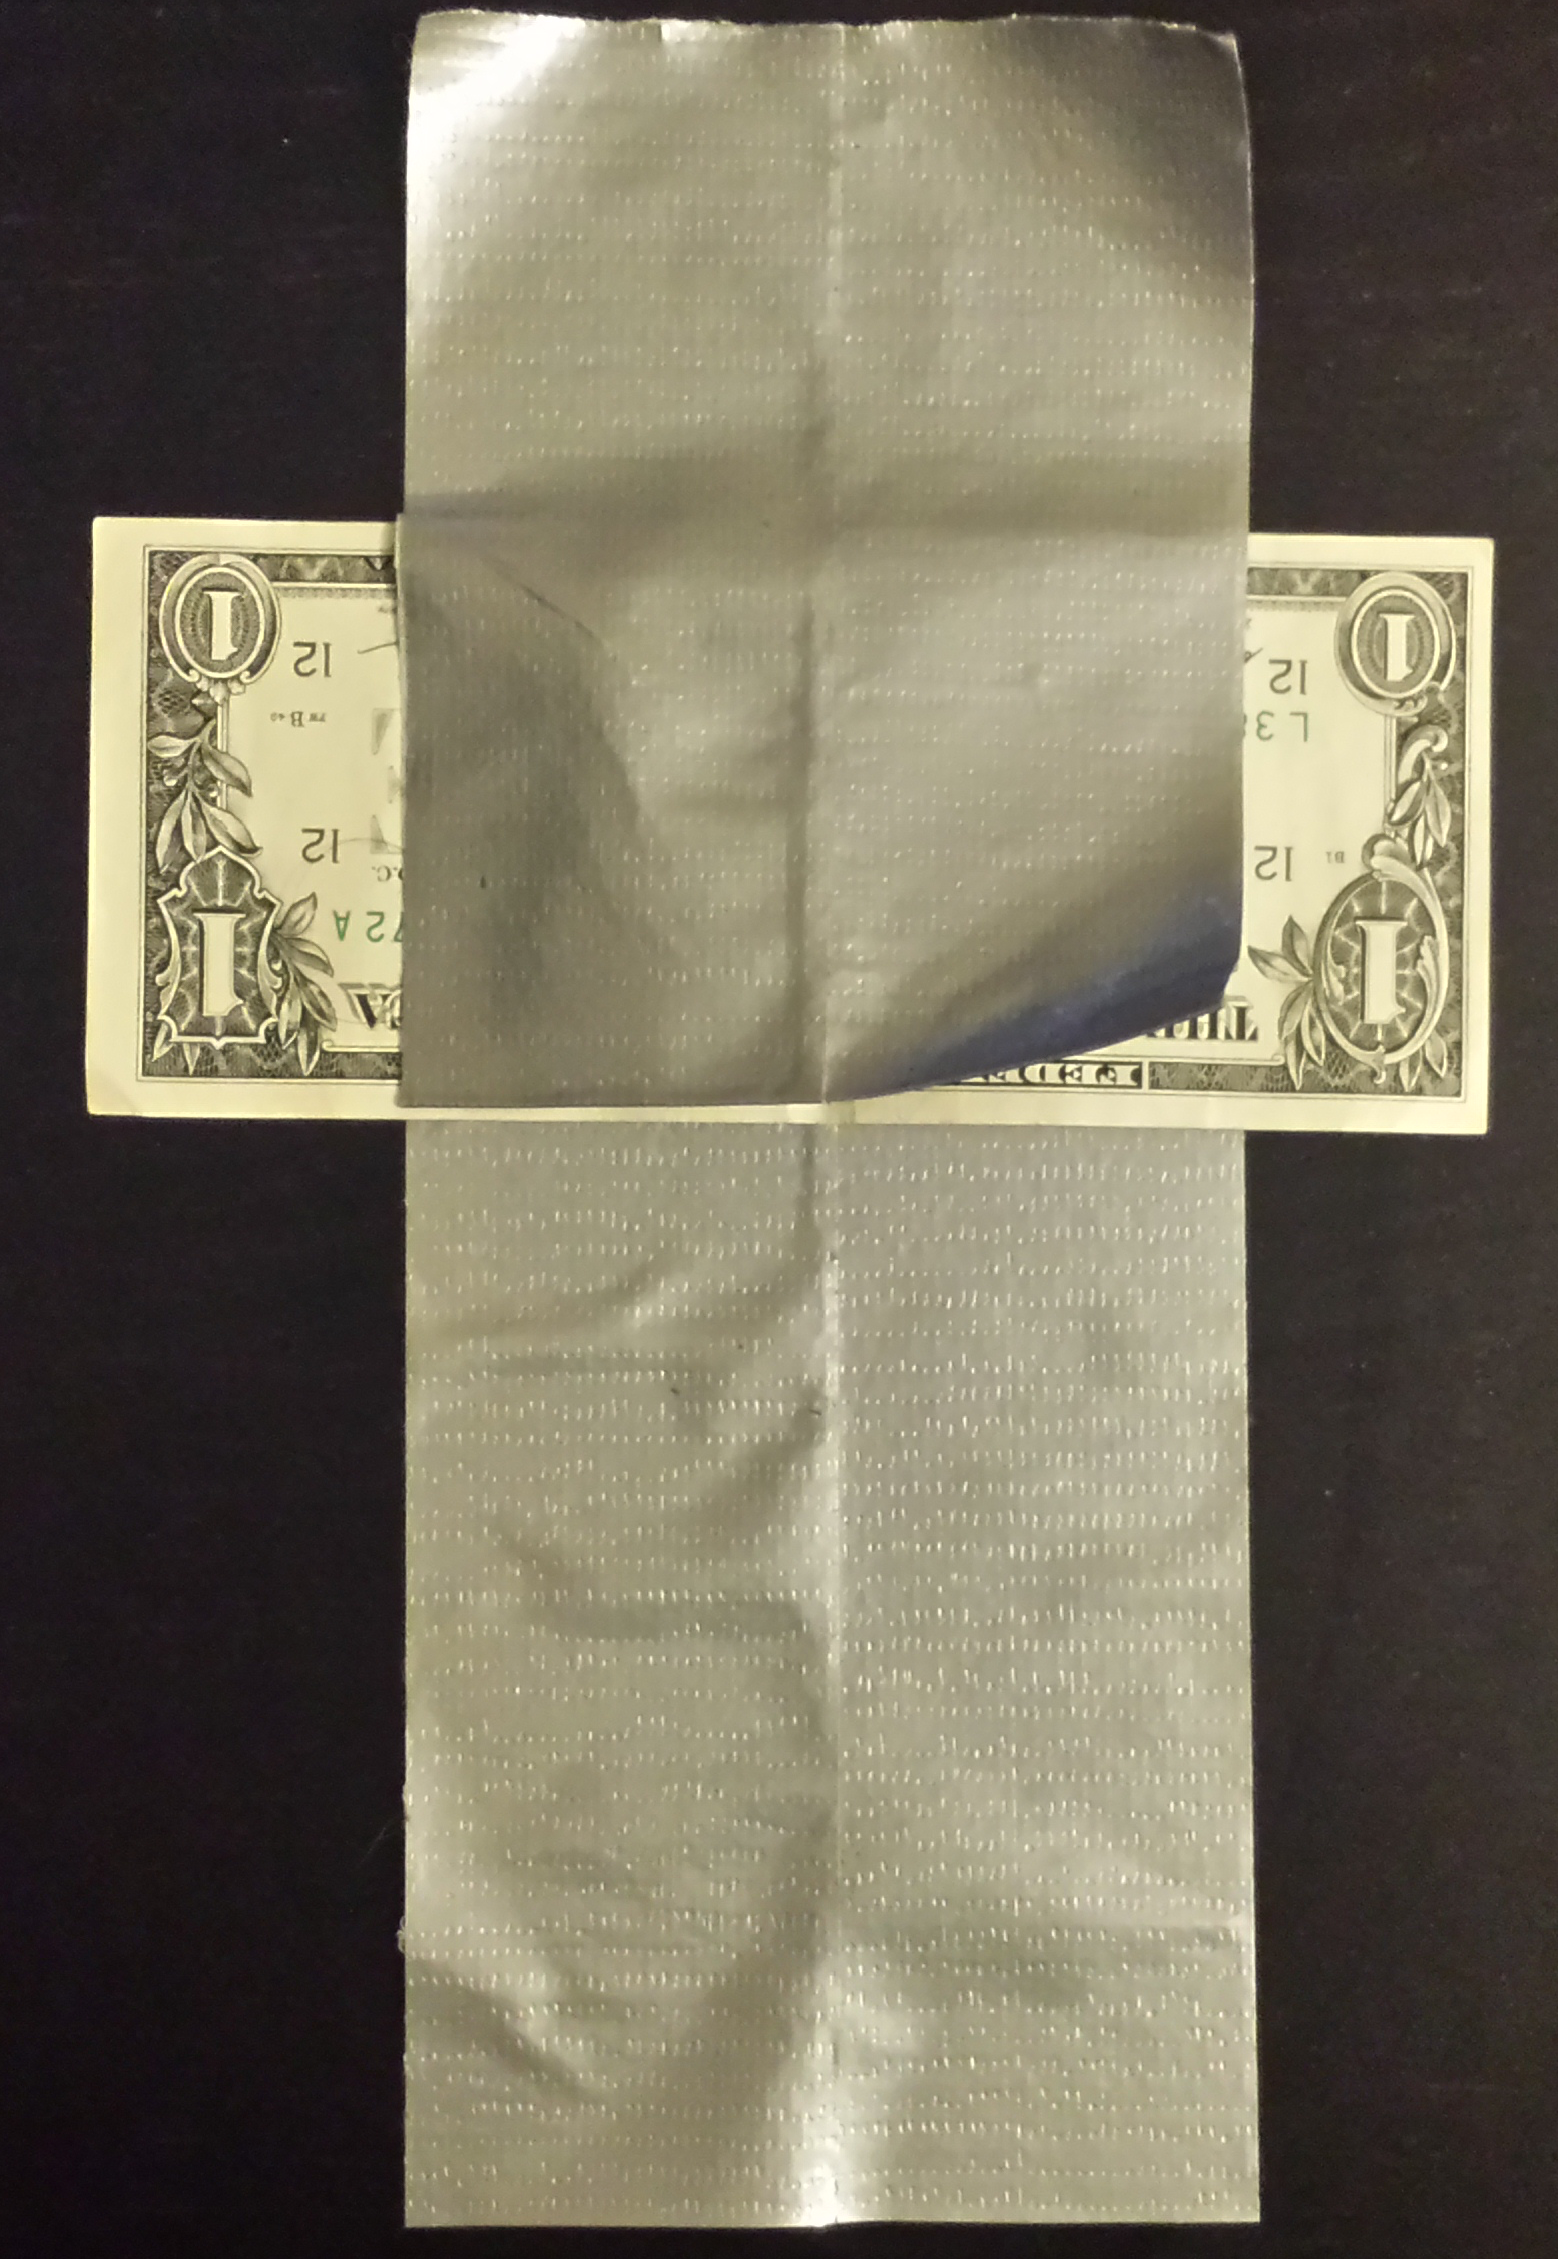
The first fold, in half, with a bill to measure the second fold.
After the second fold.
After the third fold and flipping over.

After the rest of the backbone folds.
Step 4.
Measure out a length of duct tape a little larger than twice the
width of the wallet and wrap it around the outside, with the
sticky-side covering the remaining stick-side of the wallet frame.

That’s it! Â Enjoy your new wallet!
0 responses so far ↓
There are no comments yet...Kick things off by filling out the form below.